The Steam Room at the End of the Landing: Practical Paint Choices for a British Bathroom
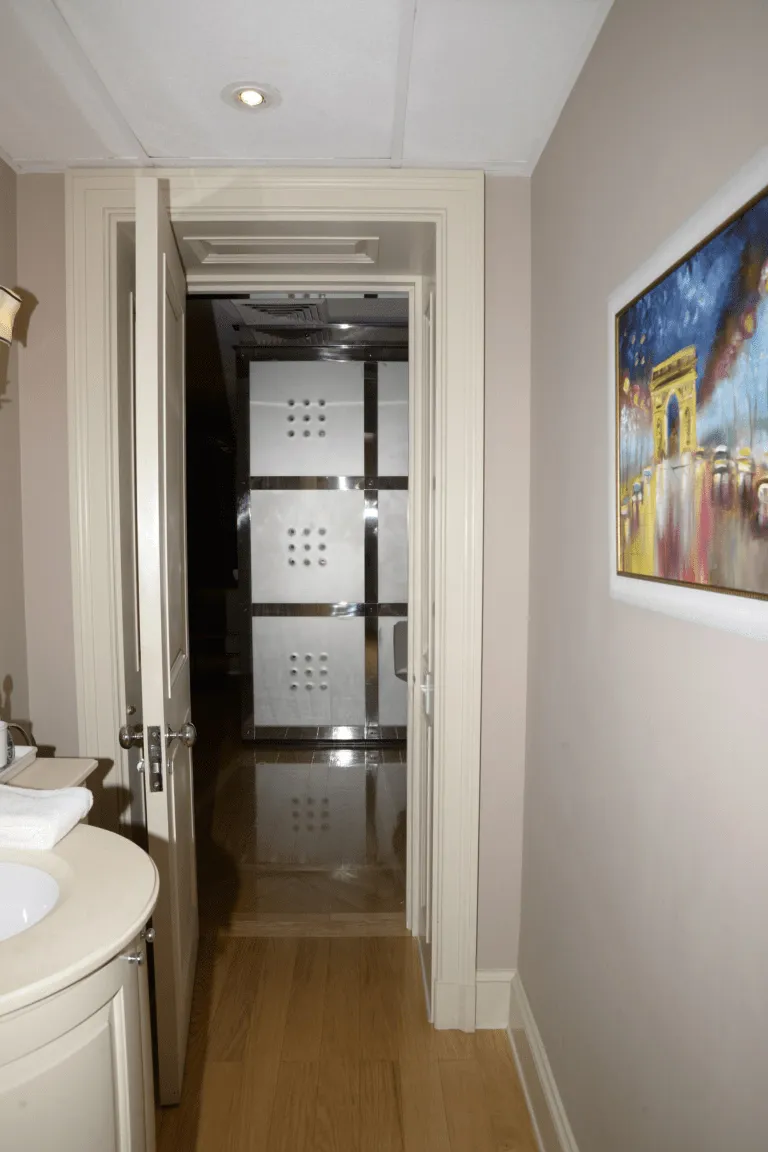
Photo: Federal Bureau of Investigation, Public domain, via Wikimedia Commons
The bathroom is the hardest-working room in the house, and it rarely gets treated like it. We spend ages choosing a colour for the living room, then grab whatever tin is left over for the room that gets hit with steam, shampoo, splashes and cleaning spray several times a day. It is no wonder so many bathroom paint jobs start looking tired within a year.
A British bathroom has its own particular pressures. Many of us are working with a small room, a single window that stays shut in winter, an extractor fan that may or may not be doing its job, and a constant battle against condensation. Paint here needs to do more than look nice. It needs to stay put, wipe clean and not turn into a science experiment around the shower.
Bathroom paint is not one single product
Walk into any decorating aisle and you will see tins labelled bathroom paint, kitchen paint, kitchen and bathroom paint, moisture-resistant emulsion, soft sheen, eggshell and a dozen variations on the theme. The labels are not meaningless, but they are not a guarantee either.
Most bathroom paints are formulated to resist moisture and to be wiped down. Many kitchen paints are built to resist grease and repeated scrubbing. Some products are designed for both rooms, which makes sense because both are high-traffic, high-cleaning spaces. The key is to look beyond the word ‘bathroom’ on the front and check what the tin actually claims. A scrub rating, a washability class or a note about moisture resistance is more useful than a picture of a towel rail.
Standard matt emulsion, the kind you might use in a bedroom, is usually the wrong choice. It looks lovely and flat, but it marks easily and does not enjoy being scrubbed. In a steamy room, that can mean patches that go shiny or start to flake. Water-based eggshell and moisture-resistant emulsions are generally safer bets, and acrylic eggshell is a good compromise for walls that need to be wiped over regularly.
Zone the room before you buy a tin
Not every wall in a bathroom faces the same conditions, so it helps to think in zones rather than treating the whole room as one job.
The splash zone is the area immediately around the bath, shower and basin. This is where water lands, where toothpaste flies and where you are most likely to reach for a cloth. A scrubbable, moisture-resistant finish makes sense here. Acrylic eggshell is a practical choice for walls in this zone, and it is also worth considering for the lower half of the room if you have children or a dog that likes to shake itself dry near the door.
The upper walls and the ceiling are more about steam than direct splashes. A moisture-resistant emulsion in a matt or soft-sheen finish works well, especially above the shower where condensation collects. If your ceiling already has a few patches or you have had a leak in the past, sort those out before painting rather than hoping a thick coat will hide them.
Woodwork is its own zone. Skirting, window reveals and the bathroom door all get handled, kicked and wiped. A water-based satin or eggshell is tougher than standard emulsion and will cope with the occasional damp cloth. If you are painting a radiator, use a suitable radiator paint or a durable satin, and remember that the heat will affect how the paint cures.
If you are planning to paint tiles rather than replace them, use a dedicated tile paint and follow the instructions closely. Standard wall paint will not bond properly to a glazed surface, no matter how well you sand it.
Preparation is where most bathroom paint jobs fail
A bathroom is not a forgiving room for shortcuts. The surfaces are often glossed, patchy, previously painted with who-knows-what, and dotted with silicone that has seen better days. Prep is the difference between a finish that lasts and one that peels within a few months.
For glossed tiles, start by cleaning with sugar soap and rinsing well. Then key the surface with a fine abrasive pad or sandpaper – you are not trying to remove the glaze, just take the shine off so the paint has something to grip. Wipe away the dust, apply an appropriate adhesion primer if the product recommends it, and then paint with a specialist tile paint. Do not paint over old silicone; cut it out and replace it after the paint has cured.
Patchy walls need a similar level of honesty. Scrape back any flaking paint, fill cracks and dents with a bathroom-suitable filler, sand smooth and wipe down. Bare plaster should get a mist coat – a thinned-down emulsion – before full coats go on. Water stains and old damp marks may need a stain-blocking primer, otherwise they can bleed through a fresh paint job.
Mould is a preparation issue, not a paint issue. If you have black spots around the shower or on the ceiling, treat them with a fungicidal wash, let the area dry thoroughly, and deal with the cause. Paint with added fungicide can help, but it will not stop mould returning if the room stays damp.
And check the extractor fan. If it is clogged, noisy or doing very little, clean it or get it looked at before you start painting. A working fan will do more for your paintwork than any miracle product on the shelf.
Colour and sheen matter more here than you think
In a small, steamy room, sheen is not just a practical detail. It changes how light bounces around, how clean the room feels and how obvious every lump and bump is. Higher sheen levels reflect light and are easier to wipe, but they also highlight poor filling and uneven walls. Matt finishes hide imperfections but can mark more easily and are less forgiving of repeated cleaning.
For many bathrooms, a mid-sheen or eggshell finish on the walls is the sensible middle ground. It gives you a wipeable surface without turning the room into a mirror. If you want a flatter look, use a moisture-resistant matt on the ceiling and keep the more durable finish for the walls.
Colour is personal, but a few things are worth remembering. Steam softens light, so a colour that looks bright and fresh in the hallway can feel grey and heavy in a bathroom, particularly on a dark winter morning. Pale warm neutrals, soft greens and gentle blues are popular for good reason, but darker colours can work beautifully if the room has decent lighting and you are prepared to keep the finish scrubbable. Painting the ceiling in a similar tone to the walls can make a small room feel more considered and less boxy.
Always test colour in the room itself, with the light you actually use. A patch on the wall near the window at midday will tell you very little about how that colour will look under the bathroom bulb at seven in the morning.
Application: keep the room dry and the coats thin
Once the prep is done, the painting itself should be the easy part. Two thin coats are nearly always better than one thick one. Keep a wet edge as you work, and do not over-brush paint that is starting to set.
Try not to paint in a steamy room. Wait until the room has aired after a shower, run the extractor fan while you work, and avoid painting on a day when every window in the house is streaming with condensation.
One of the most overlooked steps is curing time. Water-based paints need time to harden properly, and a bathroom is a bad place to rush that process. Check the tin, but as a rule, try to keep hot showers and heavy steam away from freshly painted walls for a few days. It feels inconvenient, but it makes a real difference to how the finish performs.
A bathroom repaint is not the most glamorous decorating job in the house, but it is one of the most satisfying when it is done properly. Choose the finish by zone, prep like you mean it, and give the paint time to settle. Do that, and the room at the end of the landing will quietly get on with the job for years.